Canva is often used as a quick design tool. You might open a template, tweak it a bit, download it, and use it on your website or in your marketing material.
That’s all well and good. Being easy to use is part of Canva’s appeal for non-designers (and let’s face it, most freelance writers aren’t designers).
But if you use Canva Pro, you could get so much more out of it with some features you might not be aware of. And they’re not about creating better designs, but rather speeding up your workflows and keeping content better-organized.
The three Canva Pro features I’m talking about are: Content Planner, Magic Resize, and Bulk Create.
Content Planner
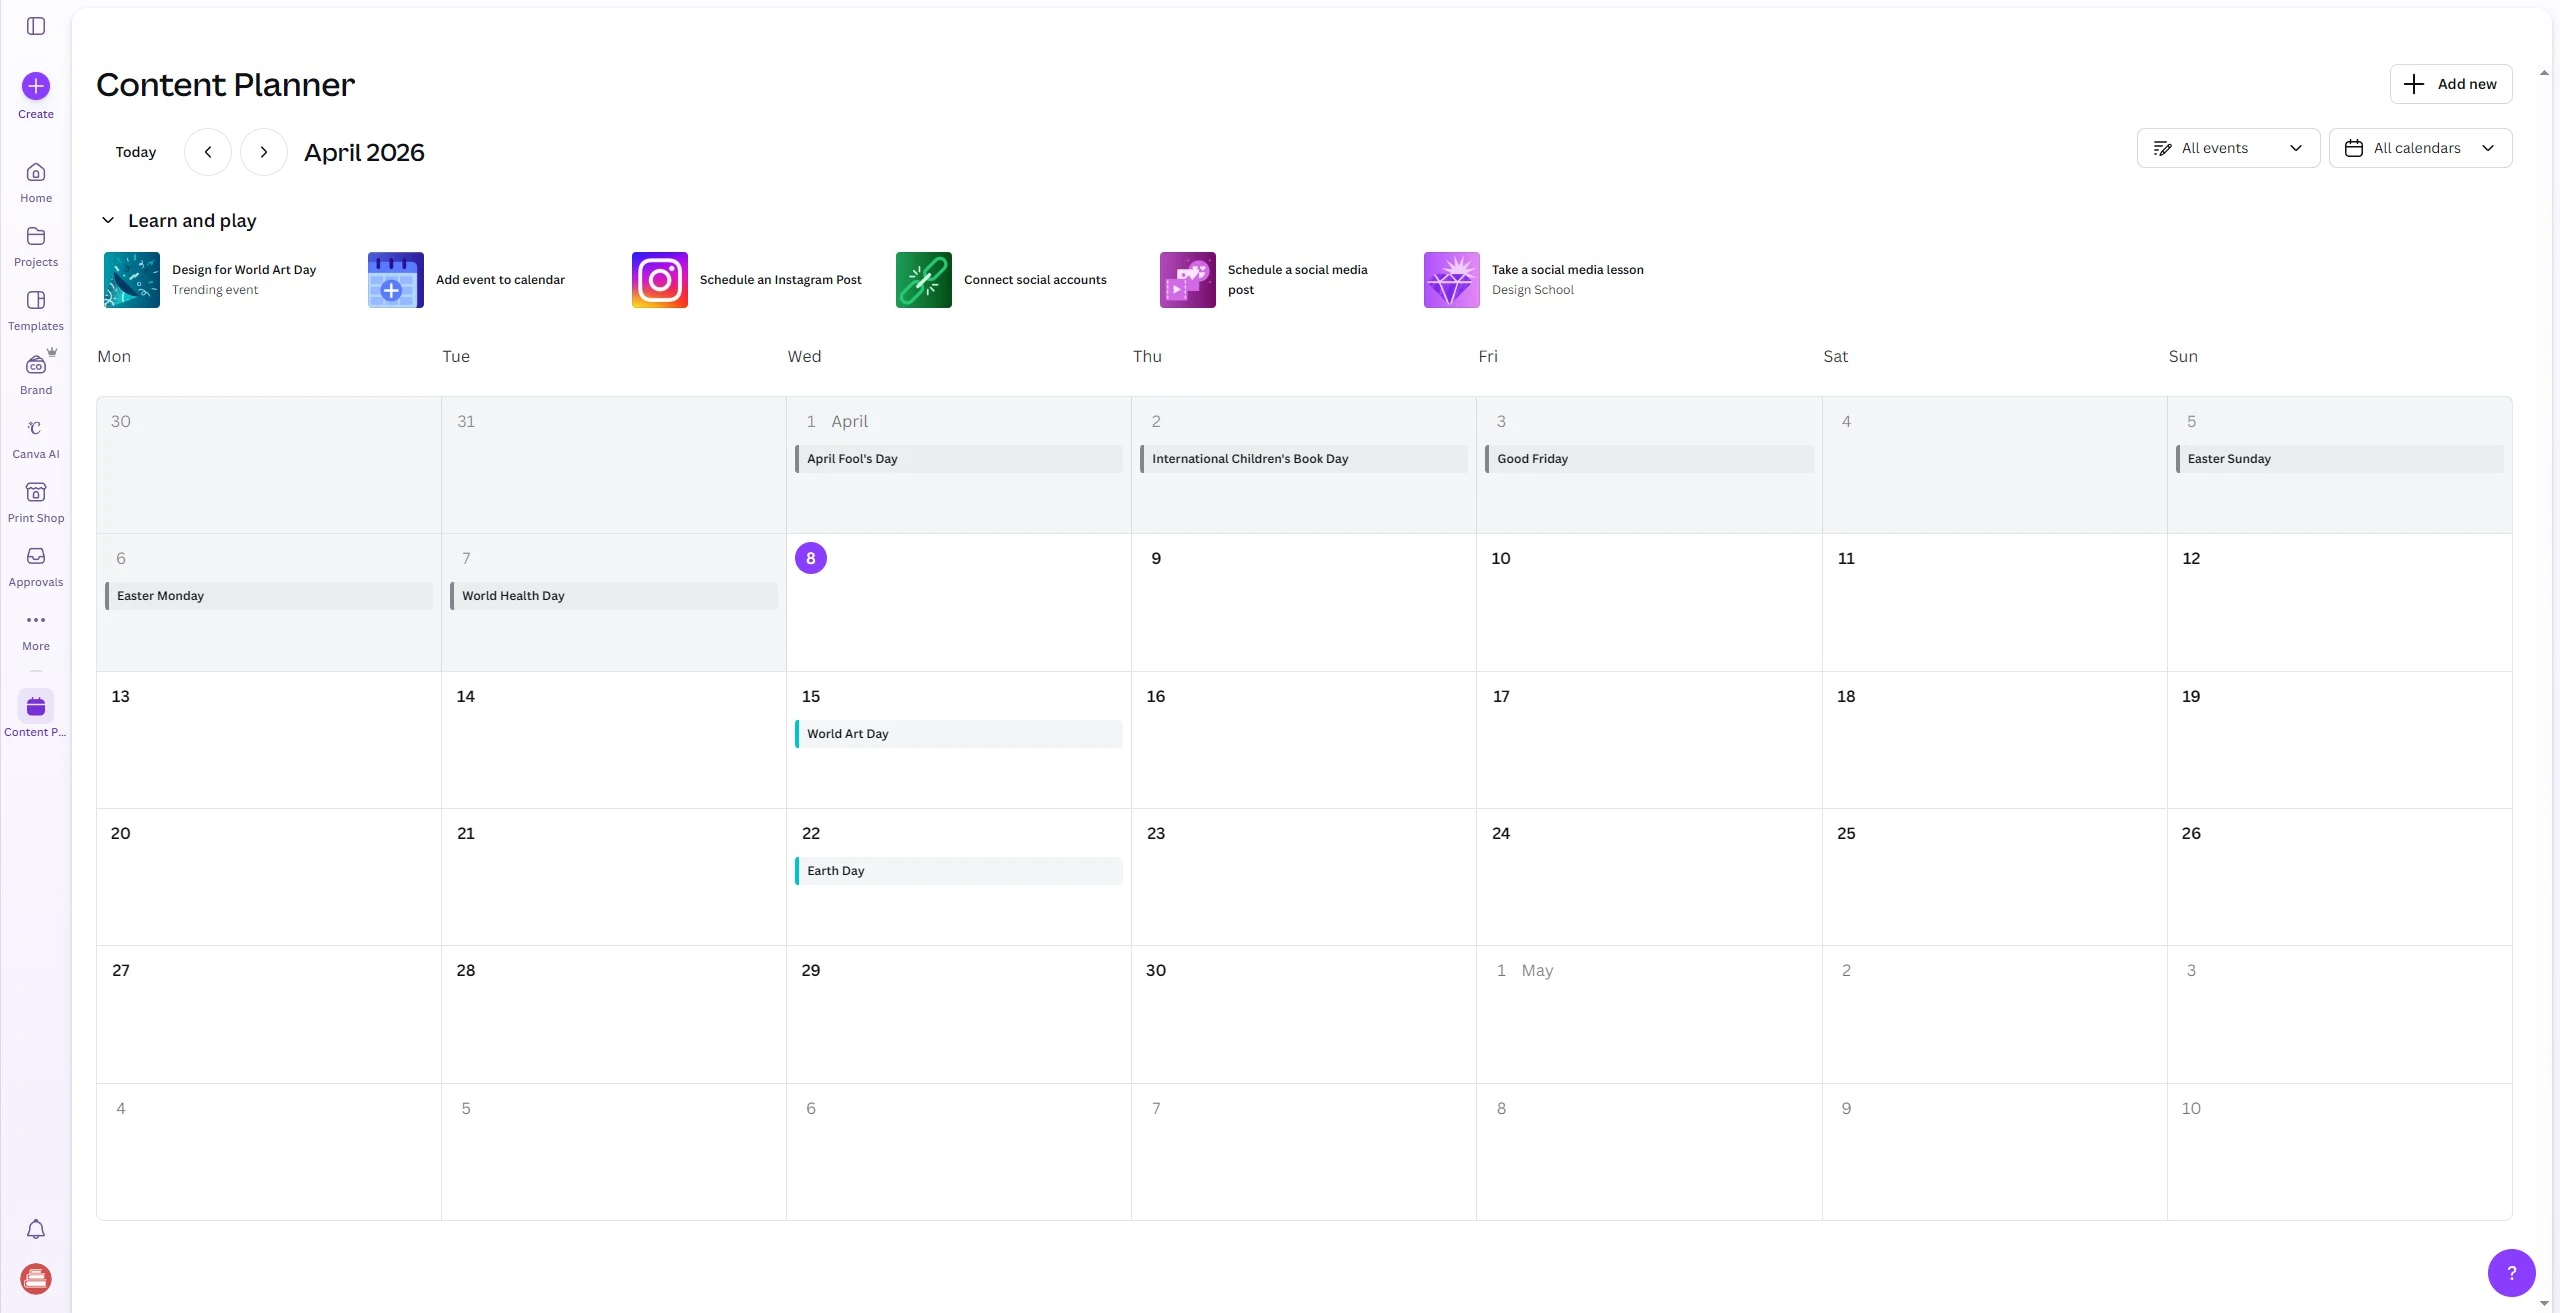
Let’s say you like to use Canva to create graphics to share on your social media accounts. You have to create those graphics, download them, then re-upload them to your platform of choice.
Canva Pro’s Content Planner tool simplifies this process by letting you schedule Canva images to post to your social media accounts without you manually uploading anything. And it’s all managed as a handy content calendar.
I’ll be up-front with you. I don’t use this feature regularly. That’s mostly because I center my social media work around LinkedIn these days. And because I’m in there responding to messages anyway, it’s easy enough to upload and schedule right on their site.
That said, Pinterest has always been a good traffic-driver for my sites even though I barely use it. I’ve wanted to get back into it, but without a big time investment. So I’m playing with Content Planner again and might make it a regular part of my workflow.
The nicest thing (for me) is you can connect your LinkedIn profile, but also LinkedIn pages, which I have for several digital properties. (Remember to follow the Freelance Writing Pros LinkedIn page!)
You can also connect to Instagram, FB, Pinterest, X, and Tumblr as of now. If social media is at all important to marketing your freelance services, this feature is worth a look.
Magic Resize
Let’s stick with the social media use case. Maybe you want to promote your professional blog content on multiple social media platforms, but they each have their preferred image sizes.
That used to mean manually creating multiple branded graphics in different sizes for a single piece of content.
Not with the Canva Magic Resize tool though…
This is a newer one for me, and it’s been a lot of fun to work with.
Basically, you create one design, then let Canva automatically convert it to different size graphics with a similar visual look for consistency.
Is it perfect? No. You might need to do some tweaking still.
Is it a massive time-saver? Yes.
Bulk Create
OK. This is my favorite of the Canva Pro features I’m going to share today: Bulk Create.
Freelance Writing Pros readers tend to be more experienced, in business for years. Maybe you’ve even been blogging to attract clients over the years, but you never thought to add post header images to help with image search visibility.
I had a similar issue on this site, where my previous branded graphics were dated and not really what I wanted to use anymore. I started manually replacing them. But the Bulk Create tool saved me so much time.
How it Works
Basically, you upload data (or you can use Canva Sheets), and then you map fields to areas in your design template.
For example, look at the image at the top of this post. While I manually created this one with the new post, I had to create these in-bulk for older posts to get updated.
I simply downloaded my post titles, categories because I put that on the image), and I used my Yoast SEO plugin “focus keyword” to create the file names. Those were the only three fields I needed for this. And I used a free WordPress plugin called WP Import Export Lite to download this in .csv format.
Then I just had to:
- open my image template;
- click “Bulk Create” in the left toolbar at Canva (if you don’t see it, check under “Apps” there);
- map my title and category to where they should go in the image (drag-and-drop);
- click the advanced options link to tell it to use the focus keywords field for the image file names.
All of this took just minutes.
Let it run, and you get one bulk file where each image is on a separate page. And when you download them, they’re separate images all using your focus keyword as the file names.
That’s all you need to do if your image template doesn’t use photos that need to be swapped, and if you leave enough room for your longest titles. I had to do some minor title tweaks for this site’s bulk images, and I swapped unique photos for each post (which is still quick within Canva once your bulk create action finishes.
I did the same for the Well-Fed Writer archives. I haven’t added the images to all posts yet there, but I needed over 200 (I should note the bulk create tool handles about 80 at once; it will create them all, but split them into groups of 80 max in the new files).
For the WFW site, that would have been too many photos to swap manually, so I went with a one-photo-per-category approach just for the archives. New ones will still get unique photos.
When I thought about how long I’d put this project off because I knew I was looking at spending most of a week just on archive images… I could have cried after seeing it finish so quickly. Even with the manual tweaks, it went from a week’s work to about a hour’s.
It might take a few more hours to add them to the posts, but wow…
These Canva Pro features might not be necessary for you on a day-to-day basis. But I’m blown away by how much time they’ve saved me already, and I intend to use each of these much more in the future.
Canva isn’t just about flashy designs being more accessible to non-designers. It’s one of the best creative productivity tools around.